Managing AWS EC2 Instances Through Simple SSH Configurations
Introduction
As a long-time macOS and Linux user, I wanted to share some details about how I made the process of logging into my EC2 instance easier (and other SSH hosts for that matter) when it came to UC Berkeley’s MIDS program’s Data Engineering course (formerly w205 and now known simply as 205). I should preface this by saying that it is probably better to use AWS’s CLI tool; however, I wanted to keep things simple for now and opted to just change my OpenSSH configuration file before doing a deep dive into all the CLI tools AWS offers. I also opted to install ddclient and pair it with CloudFlare’s API to keep a subdomain of one of my sites always updated with the most recent public IP address of my EC2 instance, as Amazon changes it every time the instance reboots. I have decided though to save that for another post as it requires building the latest version of ddclient from source since very few of the package distribution managers have the most up-to-date version of ddclient which is needed as it added support for the CloudFlare bearer API tokens. For example some of the more popular package managers such as apt, brew, df, yum, etc. do not have the newest version.
My initial attempt for connecting to my instance in a more effortless way was by making the following shell script. It was rudimentary but got the job done; however, it left me wanting a more succinct solution than just creating aliases for scripts.
#!/bin/zsh

pem_path="/path/to/your/pem/file/UCB.pem"

if [ $# -ne 0 ]; then
    DNS=$1
else
    read DNS\?"What is your Public DNS? "
fi

ssh -i $pem_path w205@$DNS
I aliased this script as ucb-aws in my zshrc and made it so it could take in an argument. It would use the first argument it got as the instance’s DNS. If you didn’t provide the DNS, the script would ask you for it and then would run the ssh command. So in order to connect to my instance on macOS I would run the command ucb-aws ec2-xx-xxx-xxx-xx.compute-1.amazonaws.com in my shell. But as I said before, I still wanted to find a less-roundabout solution.
The Better Way
After making the script, I decided to do some research and found that I should be using OpenSSH’s config file to achieve my goals in a more concise and natively supported way without scripting and without the need of aliases. I go into the details about how to set this up on your machine so feel free to follow along!
Much like many other CLI programs, OpenSSH has a config file that a user can edit to their desire. OpenSSH’s config file lives in the .ssh folder in your home directory e.i. ~/.ssh/config. If for some reason you have OpenSSH installed but do not have the .ssh folder you can create it and give it the read/write/execute permissions for your user with the following commands:
mkdir -p ~/.ssh && chmod 700 ~/.sshBy default macOS 12 Monterey already had this folder so I didn’t need to run this line, but I did not have the config file so I needed to create it using touch. I made it only readable and writable (note not executable) by my user:
touch ~/.ssh/config && chmod 600 ~/.ssh/configCongrats! Now that you’ve run the commands you are set up, and you’re ready to learn about the config file’s structure
The Ins and Outs of OpenSSH’s Config
OpenSSH’s config file takes the following basic structure:
Host hostname
    OPTION value
    OPTION value

Host hostname
    OPTION value
    OPTION value
    OPTION value

Host hostname
    OPTION value
Each section is for one specific host (or host pattern) with its specific options. The indentation is not necessarily required by OpenSSH but is added to make the config file more human readable.
Host patterns follow these rules:
- Each section can take one or multiple whitespace-separated host patterns. For example the following would apply these option settings to the hosts at 192.168.0.3 and 10.10.0.100:
Host 192.168.0.3 10.10.0.100
    OPTION value
OPTION value- The
*character is used as a wild card. For example if you useHost *it would apply the options to all hosts. If you doHost 10.10.0.*it would apply your options to all hosts in the 10.10.0.0/24 subnet - The
?character is used to assign a wildcard value between 0-9. So if you doHost 10.10.0.?it would match all hosts in the 10.10.0.[0-9] range - The
!character is used at the start of a host pattern to exclude any hosts from another pattern. For example,Host 10.10.0.? !10.10.0.9would match all hosts in the 10.10.0.[0-8] range as we excluded 10.10.0.9
It’s important to know that OpenSSH reads its config file line-by-line so if two sections could apply to the same host, OpenSSH will use the options in the first section that matches and then check the other sections for more options it hasn’t used yet. For example 10.10.0.* applies to 10.10.0.10, but because of how this config file is set up, OpenSSH will apply 10.10.0.10’s section first as it comes first:
Host 10.10.0.10
    OPTION value
    OPTION value

Host 10.10.0.*
    OPTION value
For an in-depth list of options you can use man ssh_config in your shell or you can visit the Ubuntu manual.
More Concrete Examples
If I wanted to connect to a host at example.example.io with the username kevin on port 1234 I would normally have to type this command into my shell:
ssh kevin@example.example.io -p 1234However, it can be much simpler if I setup my SSH config! I could simply type ssh example if this were my SSH config:
Host example
    Hostname example.example.io
    User kevin
    Port 1234
By setting up the config file like this when I type ssh example, OpenSSH knows to treat the command just the same as ssh kevin@example.example.io -p 1234.
Now that I have given some background information about how the config file works, here is how we would set the config file up for connecting to aws for 205:
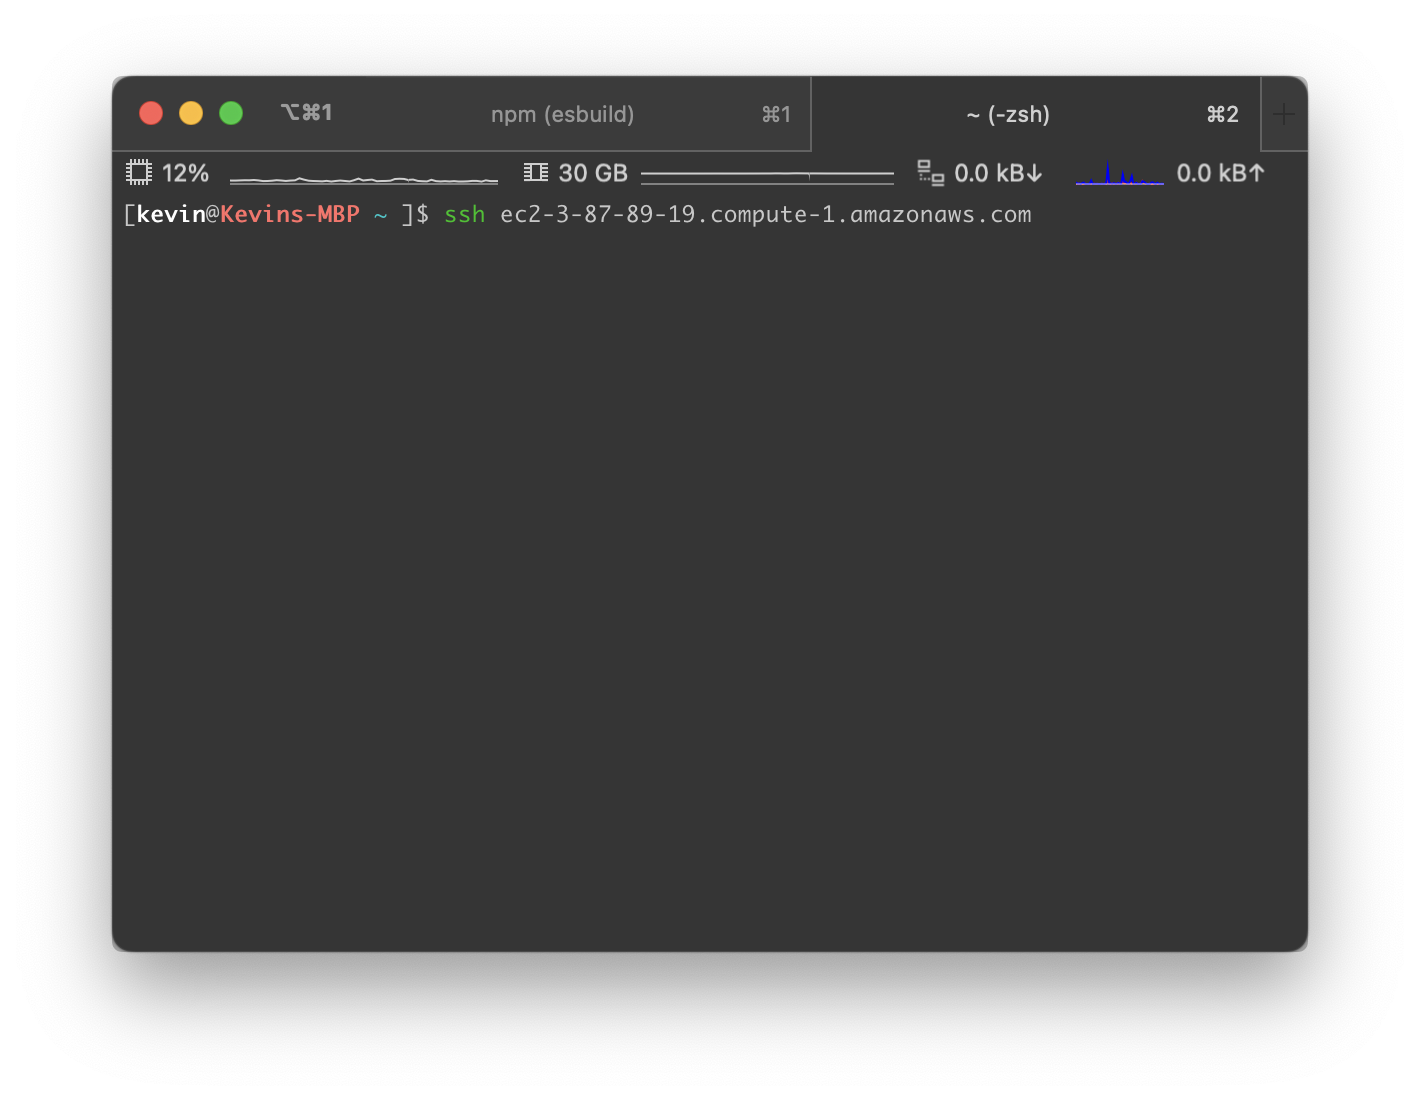
HOST *.compute-1.amazonaws.com
	User w205
	IdentityFile "/path/to/your/pem/file/UCB.pem"
This allows us to enter ssh ec2-3-87-89-19.compute-1.amazonaws.com into the shell and connect to the w205 user on the EC2 instance using the UCB.pem as authentication in the same fashion as my script did. This command works because the host ec2-3-87-89-19.compute-1.amazonaws.com falls into the wildcard name *.compute-1.amazonaws.com and thus applies the settings. Note though that if you have an EC2 instance that doesn’t use the identity file UCB.pem, the connection will fail as that host name will fall into the same wild card and OpenSSH will apply these settings. To get around this you would need to manually specify the specific options you want in the shell command: ssh -i /path/to/alt/pem/file.pem alternative_user@ec2-alt-server.compute-1.amazonaws.com. By manually specifying alternative settings, OpenSSH will ignore any overlapping settings in your config file. There are also more advanced ways to set up the ssh config file to fix this issue, but I wont cover them here.
Due to this potential conflict with host names as well a not wanting to have to manually copy the DNS url ever time, I decided to set up a Dynamic DNS service through CloudFlare as I mentioned before. So to connect to my 205 instance no matter what its IP is I just need to type ssh aws.example.com. I’m not sure when I will get around to writing a post for setting it up, but if people are interested I would be more than happy to write it sooner than later.
If anyone has any questions feel free to reach out on slack or via any one of my social links in the bottom of the sidebar!